Last updated: 29 August, 2024
Disclosure: There are affiliate links on this site, meaning, at no additional cost to you, I will earn a commission if you click through and make a purchase.
Ever wanted to record videos and upload them to video sites,
but you didnt know how?
I have found a software that is very user friendly and easy to use.
I am using a software called: ScreenPal
You can try the software here: ScreenPal
If above link is broken just try: http://tidd.ly/8293639b
You can also check out my Youtube channel here:
https://www.youtube.com/channel/UCTDYBfg16SiptWB4mvWevnQ
Step 1:
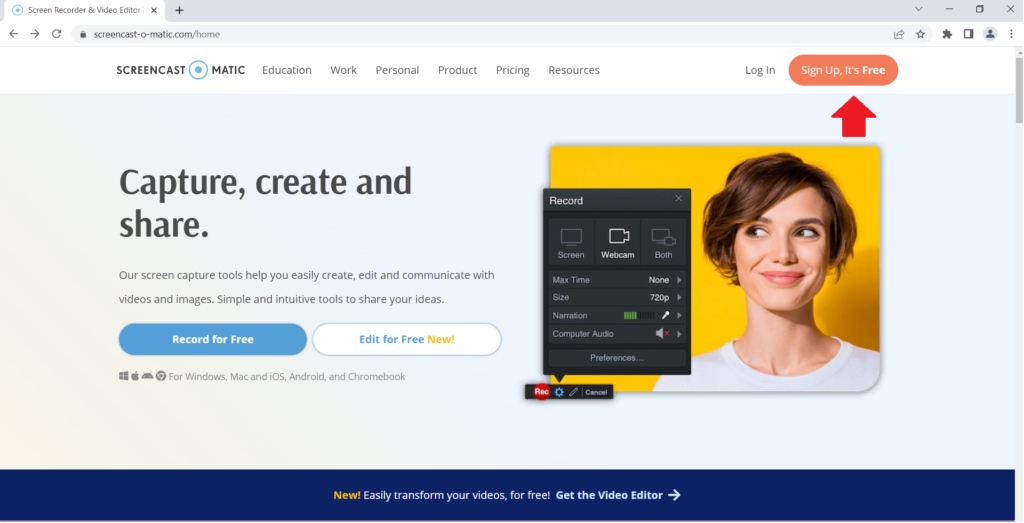
Click link above and you will be taken to the sign up page.
Then click “Sign Up, It’s Free”
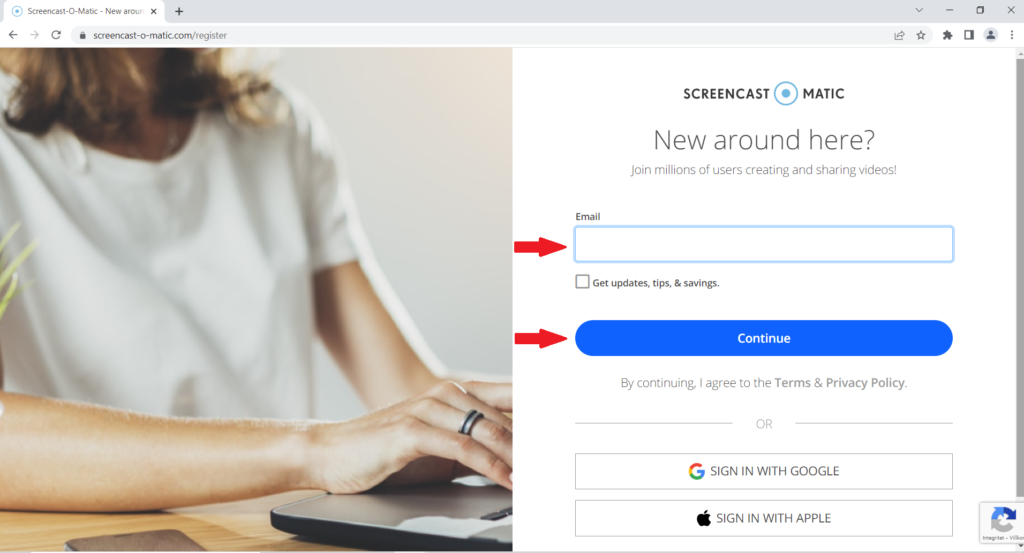
Enter your best email and click “Continue”:
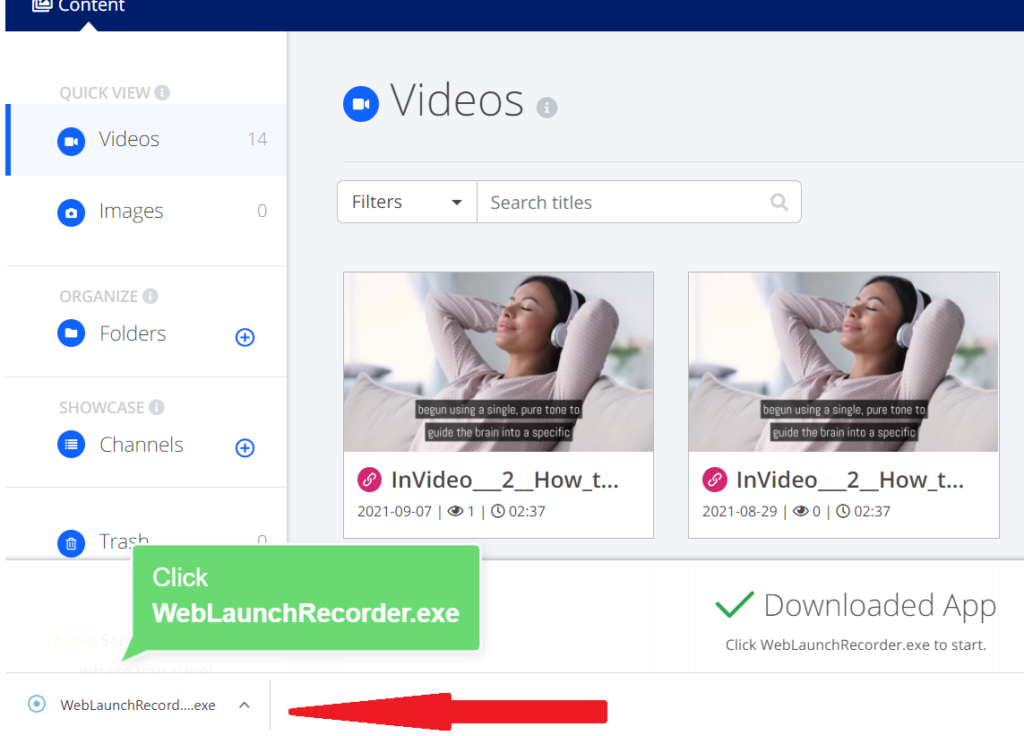
You can see your most recent videos when you have logged in. If you have no videos it will be empty.
- “Capture Screenshot” If you want to take a screenshot you use this feature.
- “Launch Recorder” If you want to launch and record you open the recorder by clicking on the button.
- “Open Video Editor” If you have recorded a video you can open the editor here. See arrow below.

Lets click “Launch Recorder” and see how it works.
Then if you click “”WebLaunchRecorder.exe” the Recorder will appear. See next picture.
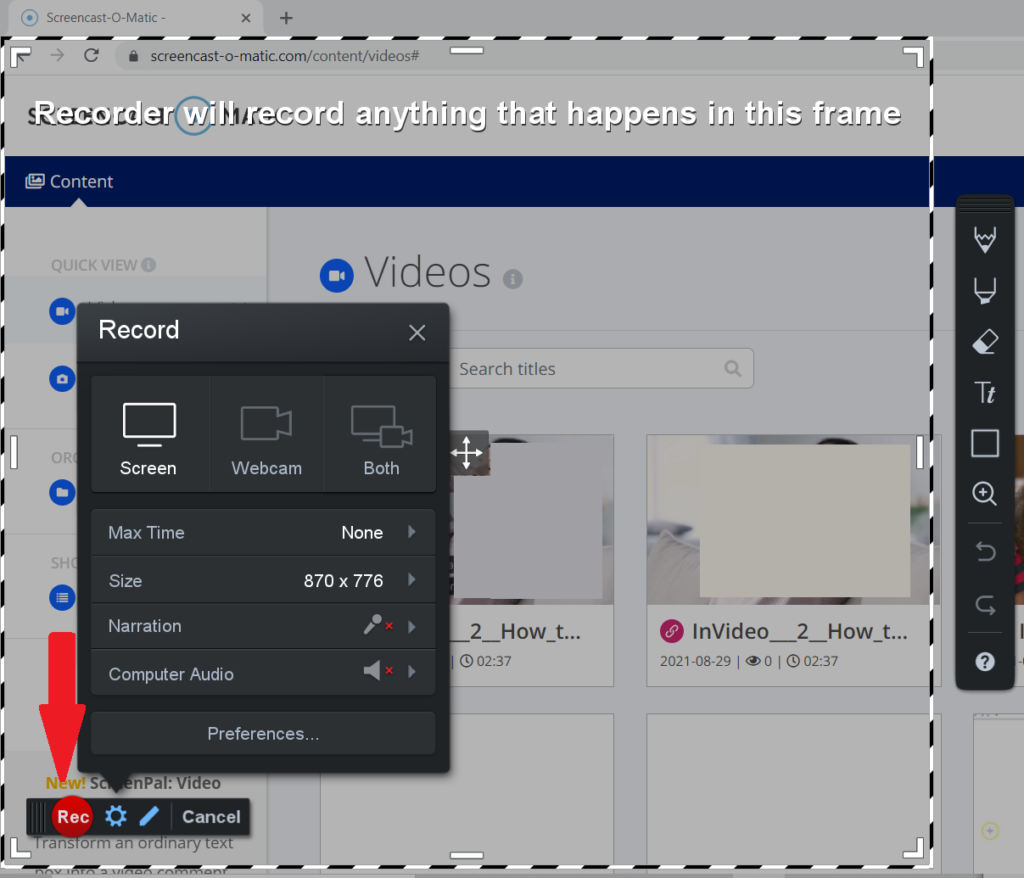
This is what the Recorder looks like:
Just click the red “Rec” button and the recorder will record anything that happens in the frame.
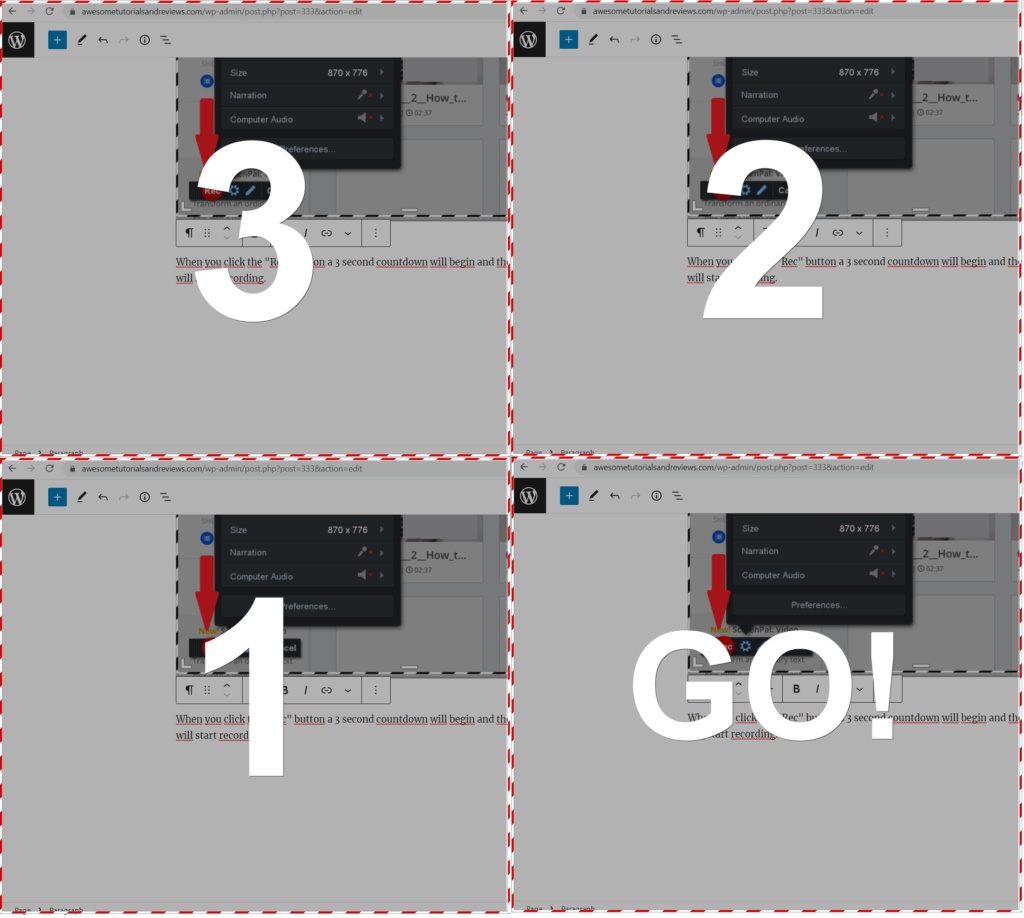
When you click the “Rec” button a 3 second countdown will begin and then it will start recording.
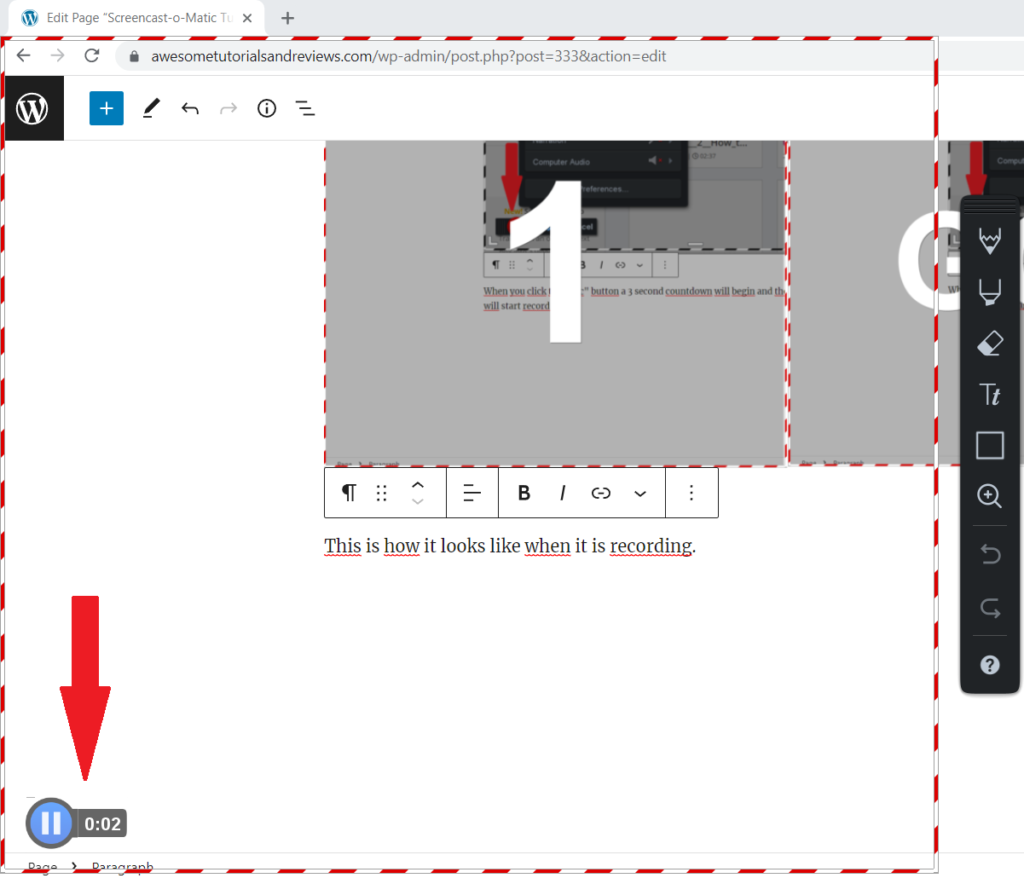
This is how it looks like when it is recording. When you are done just click the “blue Pause icon”.
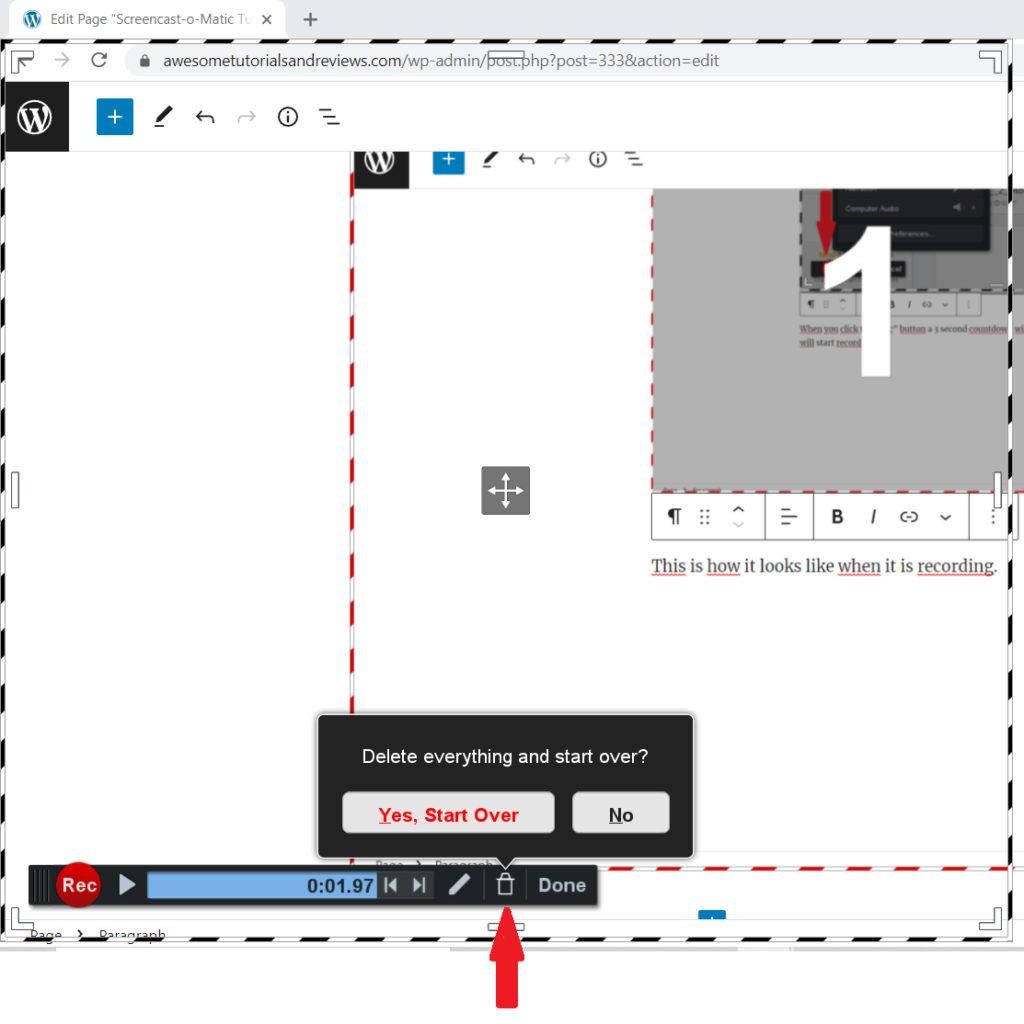
When you have finished recording, you have a few options.
If you are not satisfied with the recording you can start over, or…
Choose “Done”. Then you have three options.
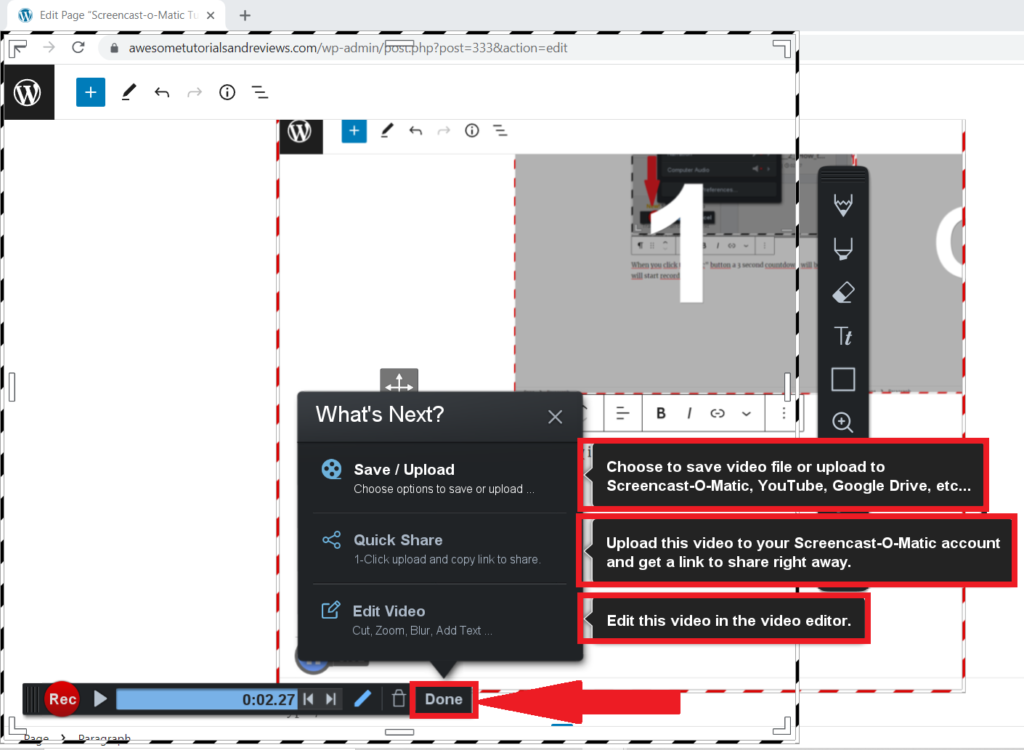
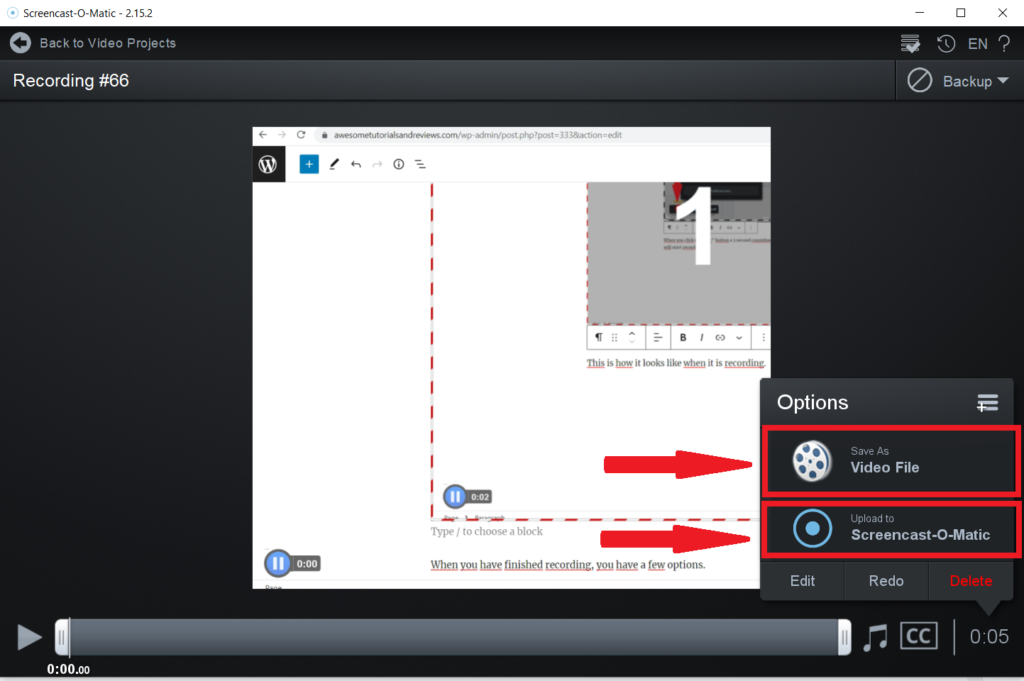
If you choose: “Save / Upload” you come to this place and you are presented with two options. You can choose one of them or both.
1: “Save As Video File”
2: “Upload to ScreenPal”
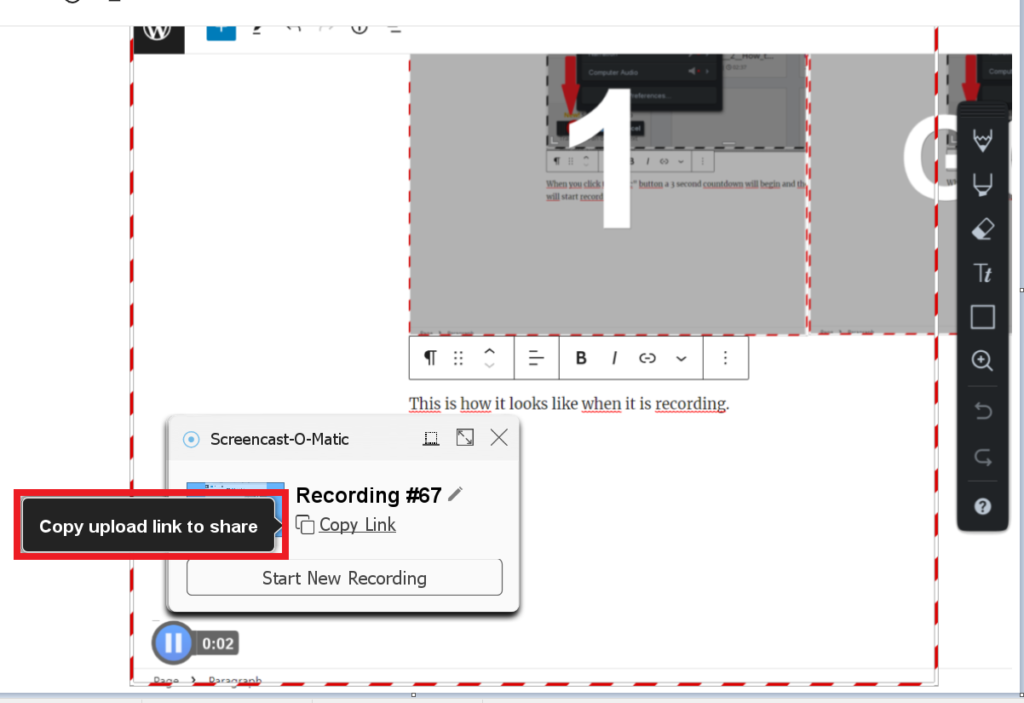
If you choose “Quick Share” The video will then be uploaded to ScreenPal and you will be given a link to share.
If you choose “Edit Video” you can choose many different ways to edit the video and when done you click “Done” in the lower right hand corner.
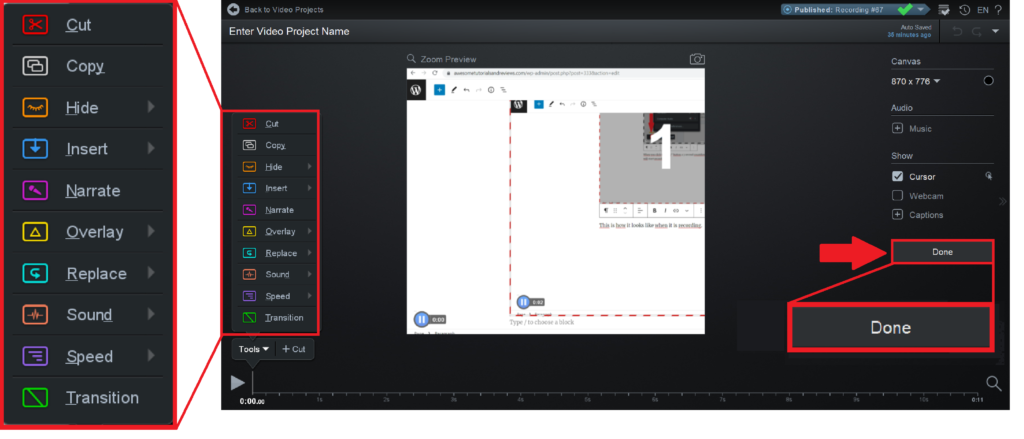
And when clicking “Done” you can “Save As Video File” or “Upload to ScreenPal” or both just like before when we mentioned “Save / Upload”.

After clicking “Save As Video File” you can choose where to save Video File then click the green button”Publish”.
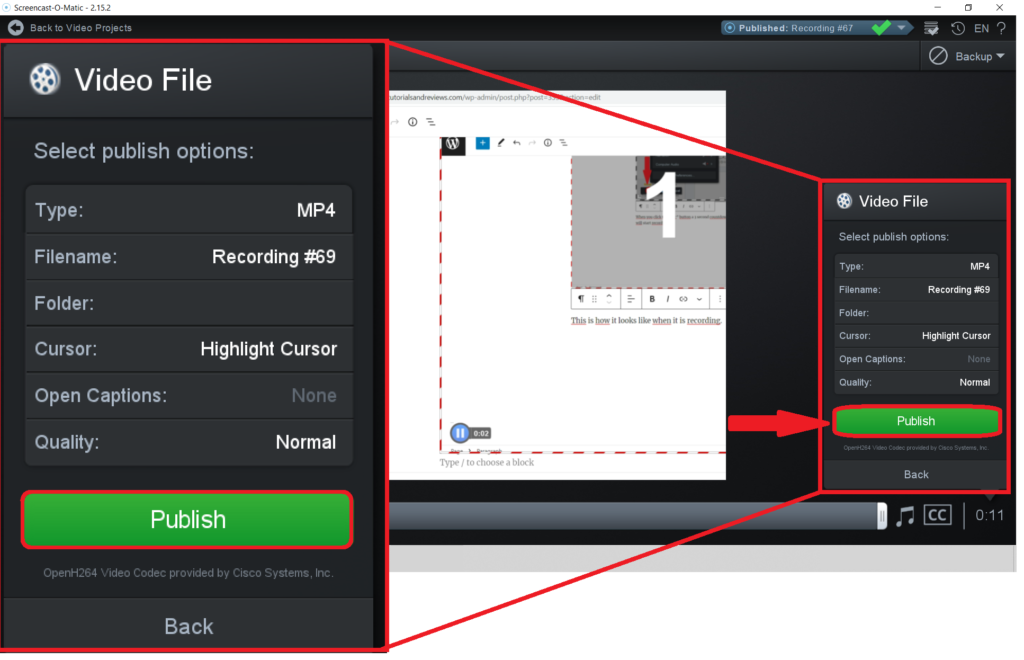
And … Done!
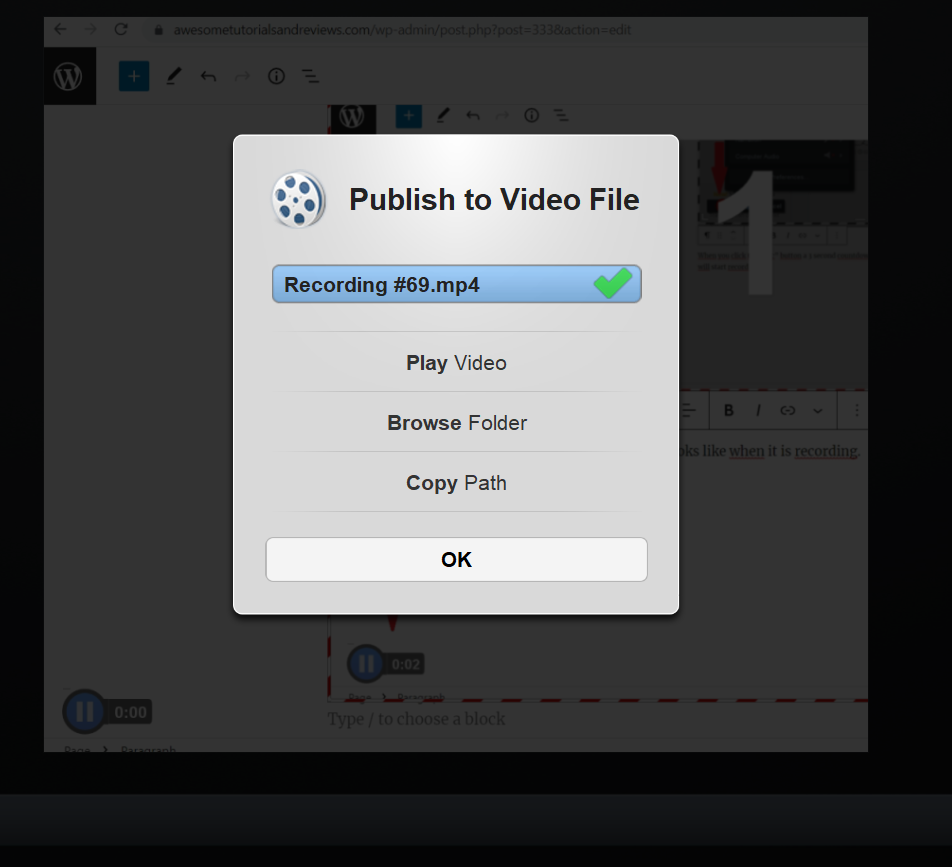
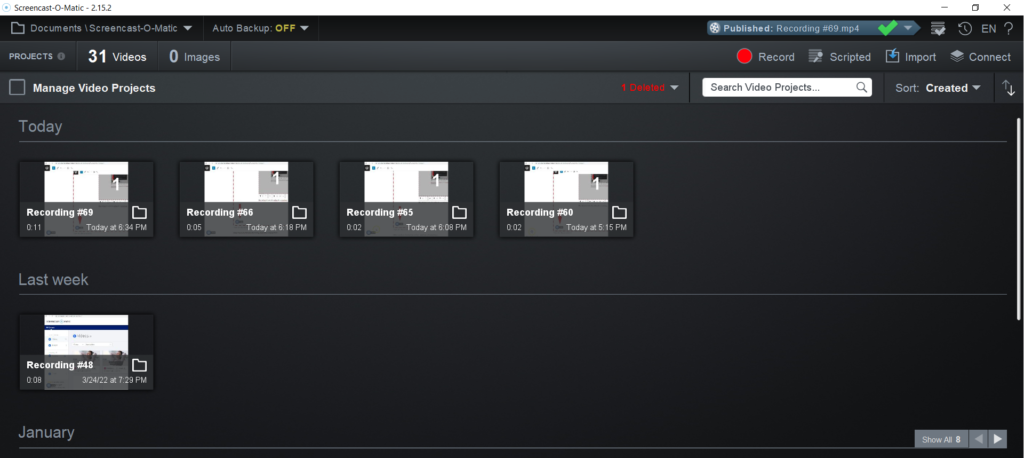
If you click “OK” you will be taken to “Manage Video Projects”. Where you can edit all of your recordings and videos. Just click on a video and you will be able to edit that video.
Sign up now: http://tidd.ly/8293639b
Free versus Paid:
| Feature: | Free: | Deluxe: |
| Recording time | 15 minutes | unlimited |
| Watermark removed | NO | Yes |
| Record System Audio | NO | Yes |
| Create Animated GIFs | NO | Yes |
| Automated Speech-to-Text Captioning | NO | Yes |
| Script Tool | NO | Yes |
| Content Manager (Image & Video Projects) | NO | Yes |
| Hide Cursor or Webcam | NO | Yes |
| Change Color of Cursor Halo | NO | Yes |
| Import Images & Videos – Mix with Recordings | NO | Yes |
| Automatically Remove Silences in Recordings | NO | Yes |
| Blur Sensitive Information | NO | Yes |
| Add Video Overlays for Picture-in-Picture | NO | Yes |
| Green Screen Filter | NO | Yes |
| Connect and Edit | NO | Yes |
| Send To Video Editor | NO | Yes |
Sign up here: http://tidd.ly/8293639b