Why OptimizePress?
Last updated: 29 August, 2024
Disclosure: There are affiliate links on this site, meaning, at no additional cost to you, I will earn a commission if you click through and make a purchase.
In my opinion OptimizePress is the easiest web building tool I have EVER come across and I have been building websites for over 5 years.
There is no need to learn any code when building websites with OptimizePress.
- No html code
- No CSS code
- No javascript
Want to learn how to build websites with OptimizePress.
Sign up for OptimizePress here:
http://www.optimizepress.com?fpr=henrik35
This page is divided in the following segments:
– How to sign up for OptimizePress – Download OptimizePress – How to install OptimizePress (It is easy) – How to build sites with OptimizePress
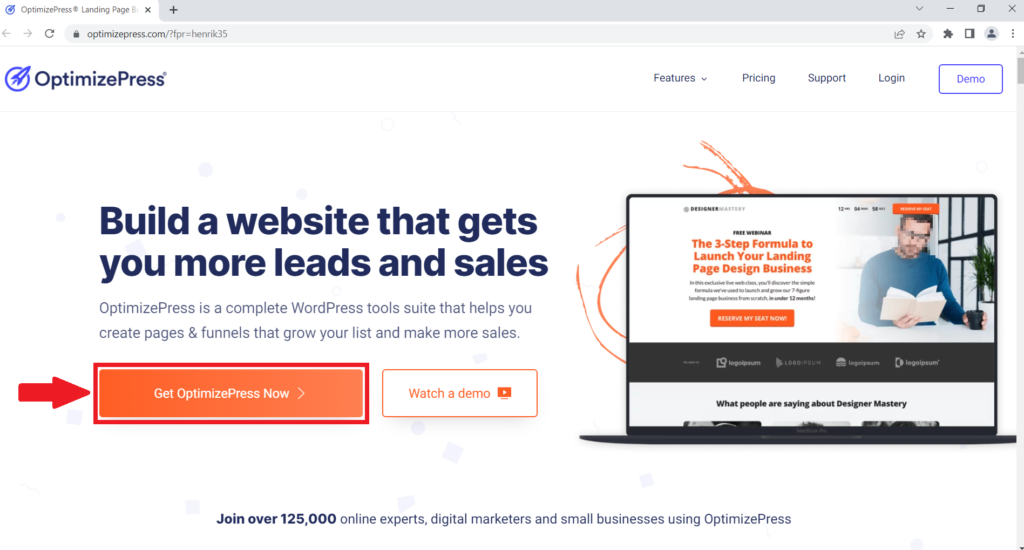
First up: How to sign up for OptimizePress.
Click this: http://www.optimizepress.com?fpr=henrik35 to get to the sign up page. (Opens up in a new window) Then click “Get OptimizePress Now”.
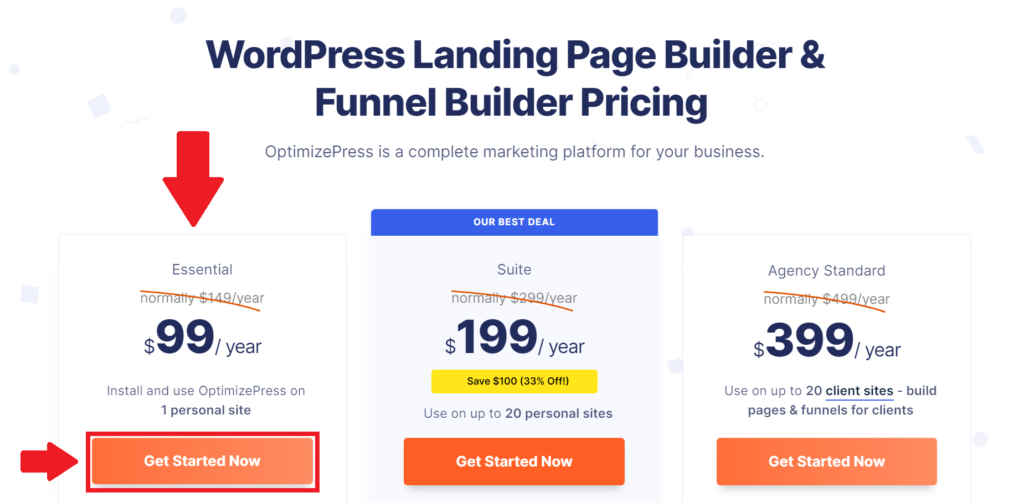
Then choose your plan. If you are just starting up and building your first site. The “Essential” plan is a good start. You can always upgrade later on if you like. Click “Get Started Now” on the plan you have decided for.
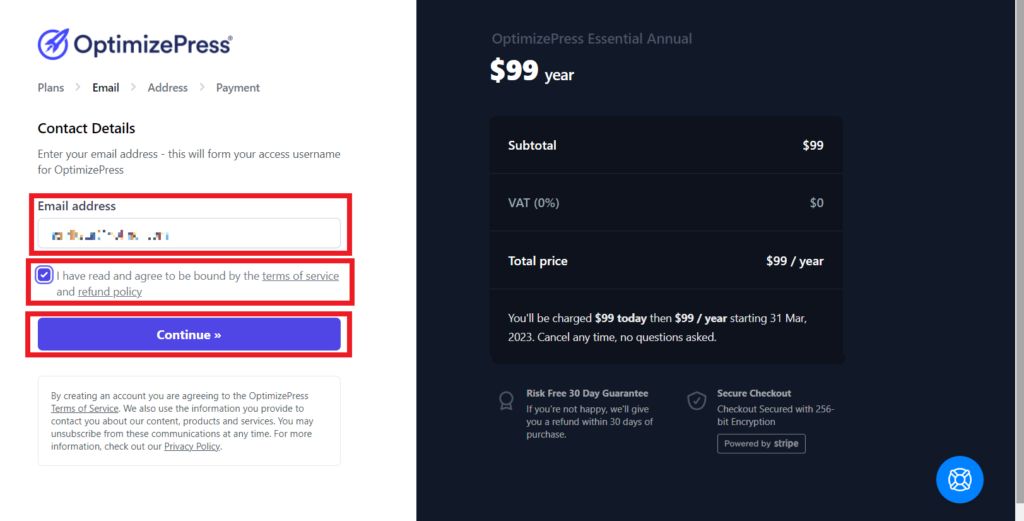
Enter your email and read: “I have read and agree to be bound by the terms of service and refund policy” and then tick the box if you agree. And then “Continue >>”
Then add your address info and then click “Continue”. Then just follow the steps. Easy as that 🙂
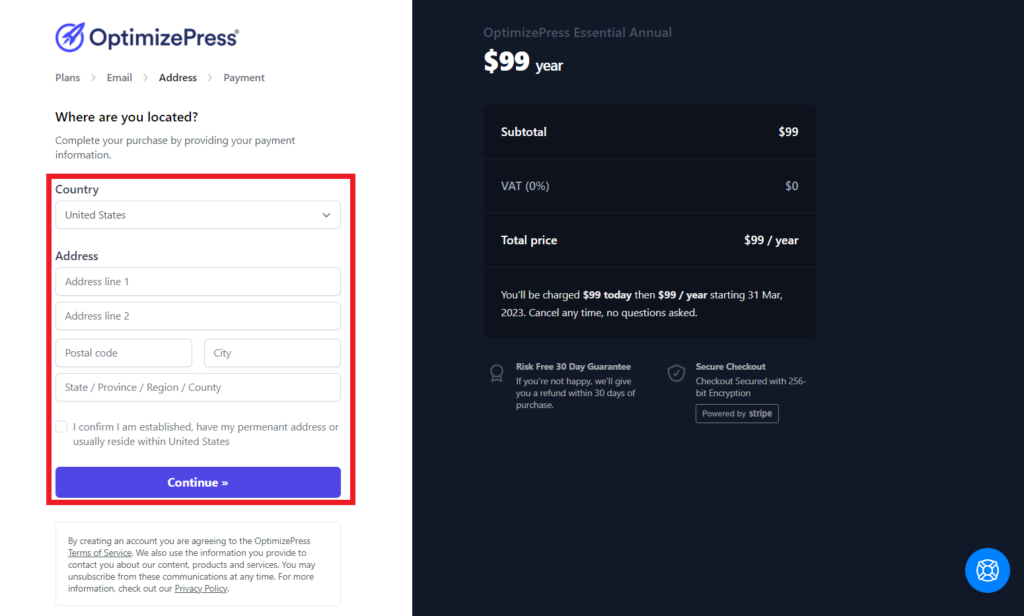
Next step is payment. How do you want to pay?
After you have paid. There will be a welcome email with all the info you need to login.
Download OptimizePress.
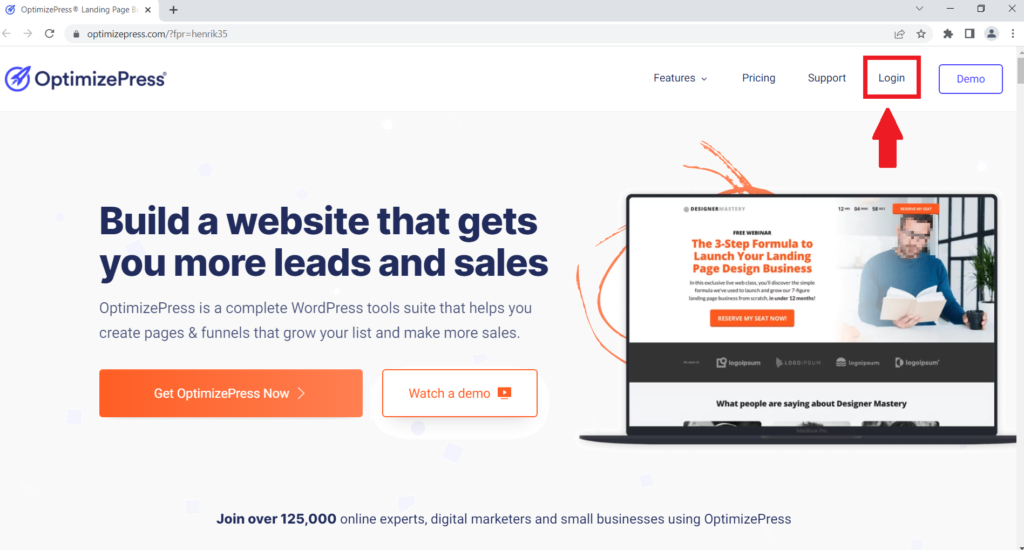
Go to OptimizePress and Click “Login”:
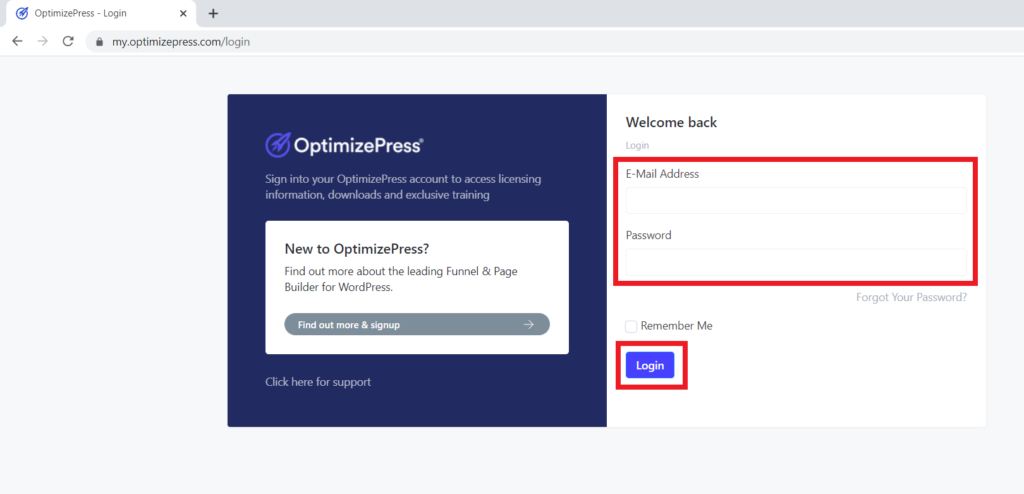
Enter Login details and click “Login”:
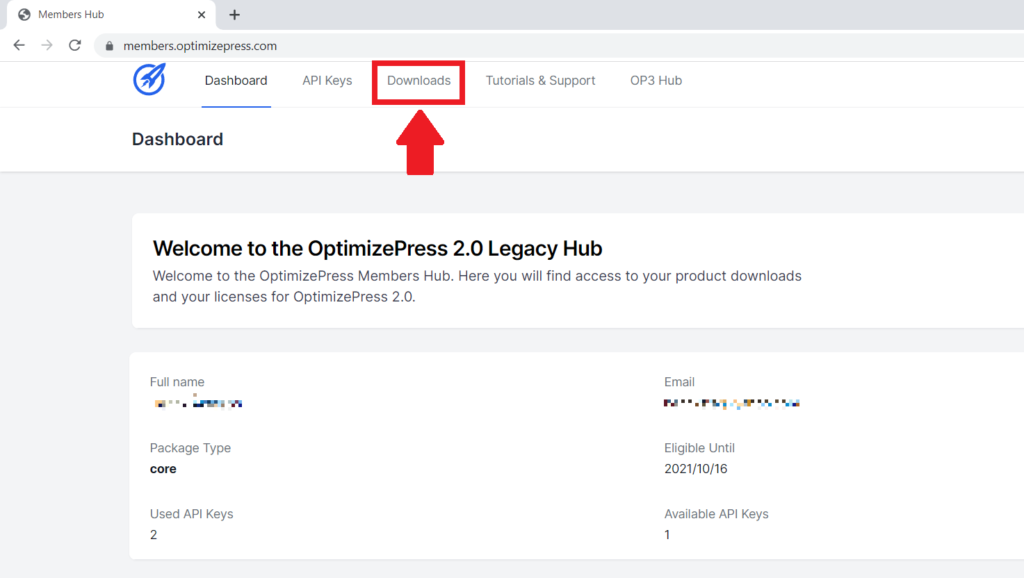
On the “Dashboard” click “Downloads”:
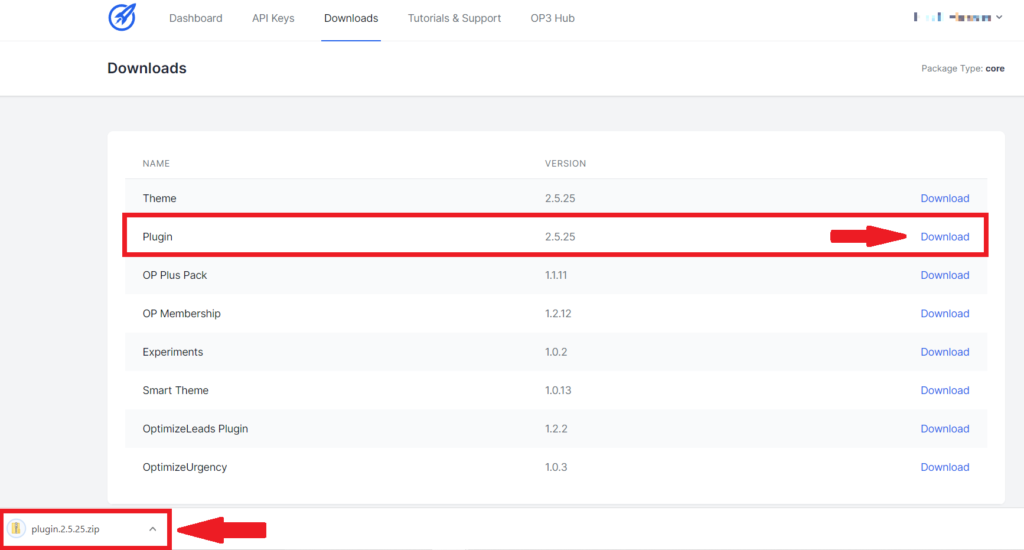
Download “Plugin”.
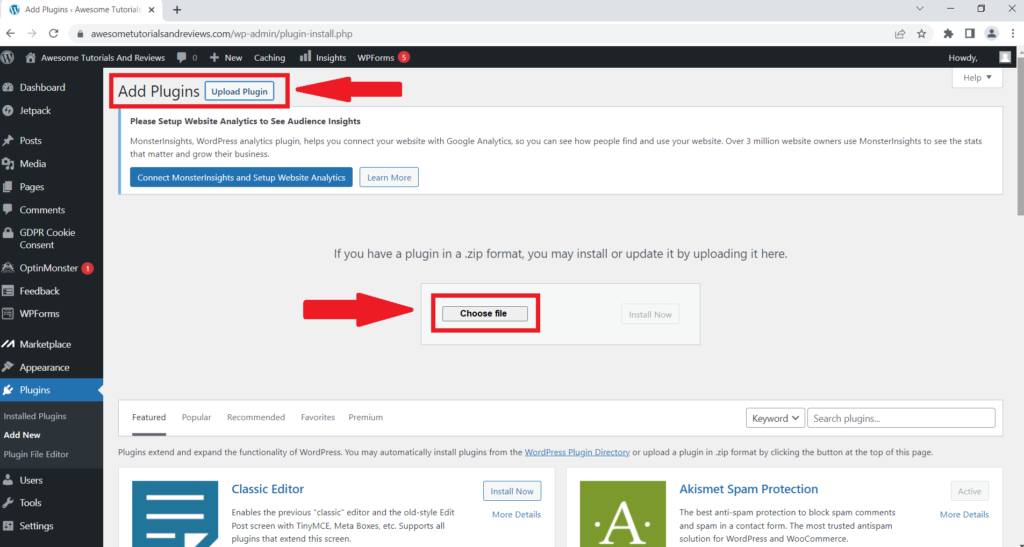
Login to your WordPress site and go to “Plugins” then click “Add New”.

Click “Upload Plugin” and then “Choose file”.
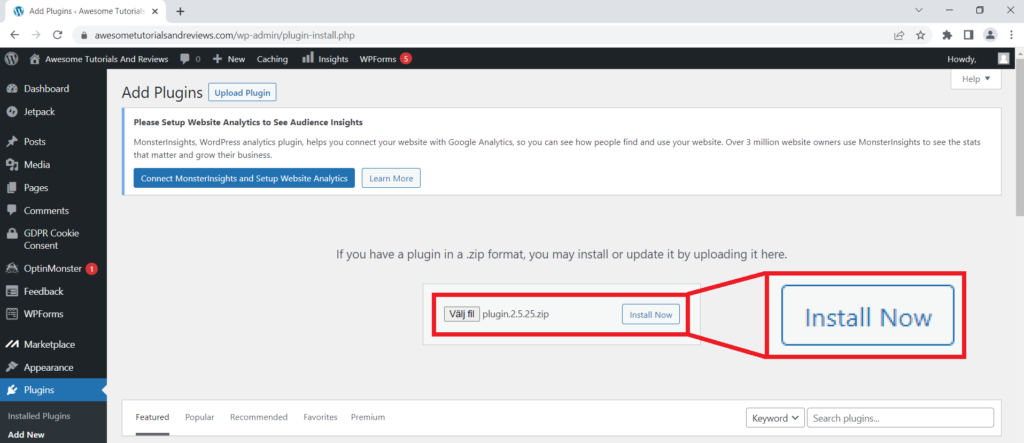
Choose this file then Open.

Then “Install Now”.
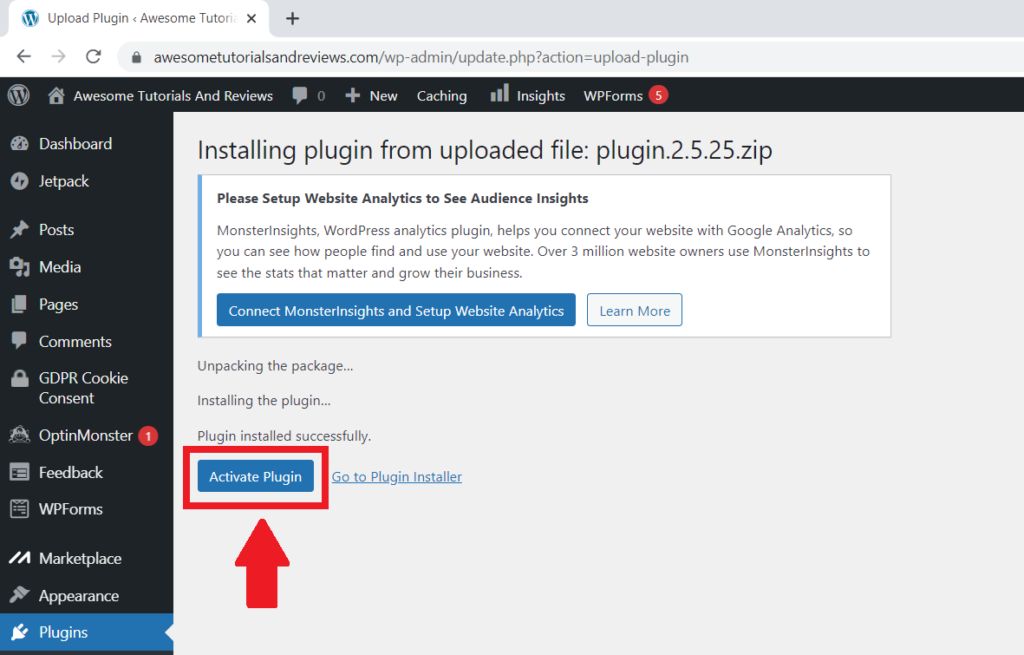
Then click “Activate Plugin”.
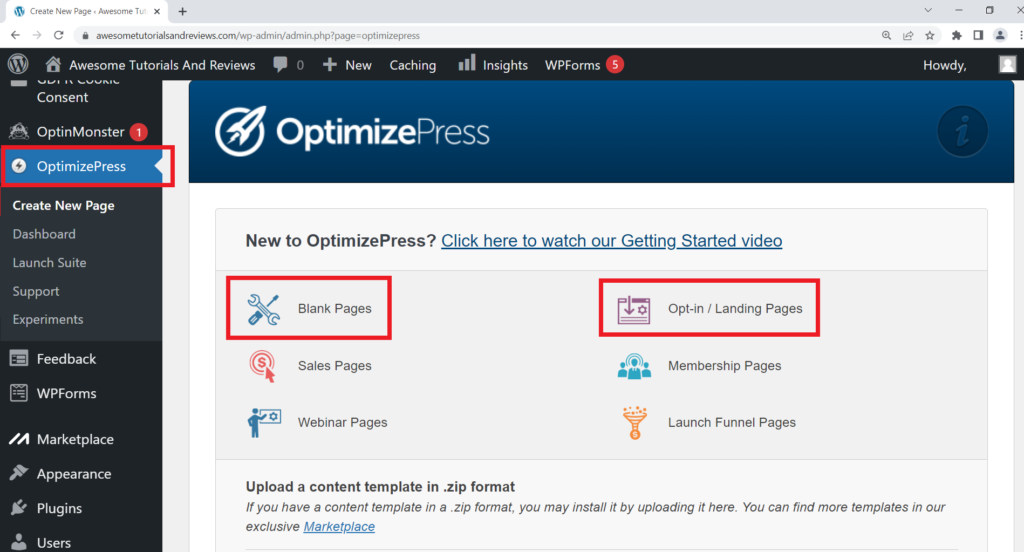
Now it is time to start to build a page with OptimizePress. Click on “OptimizePress” on the left. Then choose what pages you want to build. I use “Opt-in / Landing Pages” and “Blank Pages”. Lets build a page from scratch by choosing “Blank Pages”.
Then choose the first option: “Template Style 1 – Full Width” by clicking on the green button “Use This Template”.
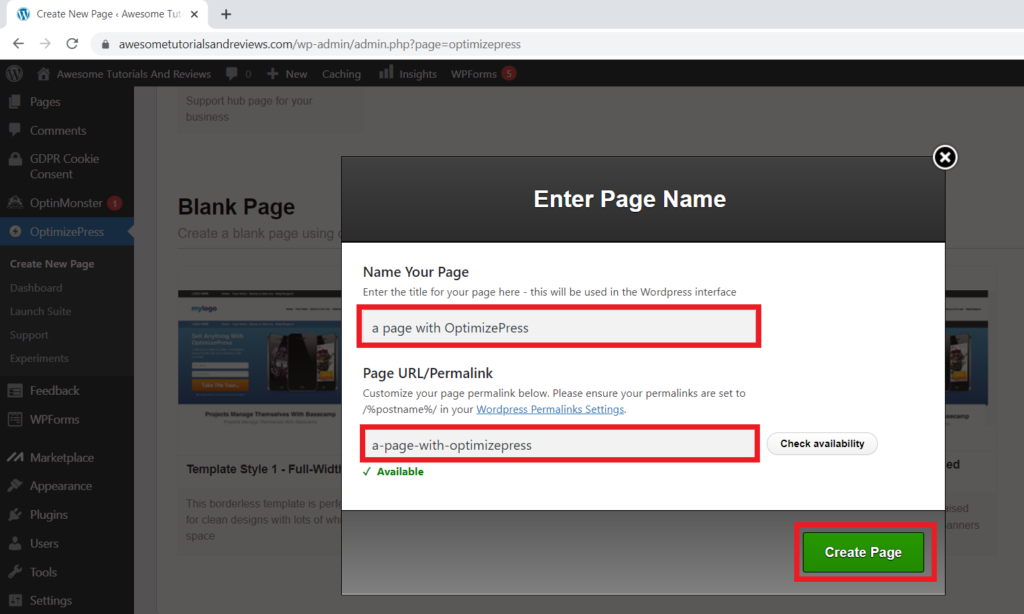
“Enter Page Name” in the box. And then click “Create Page”.
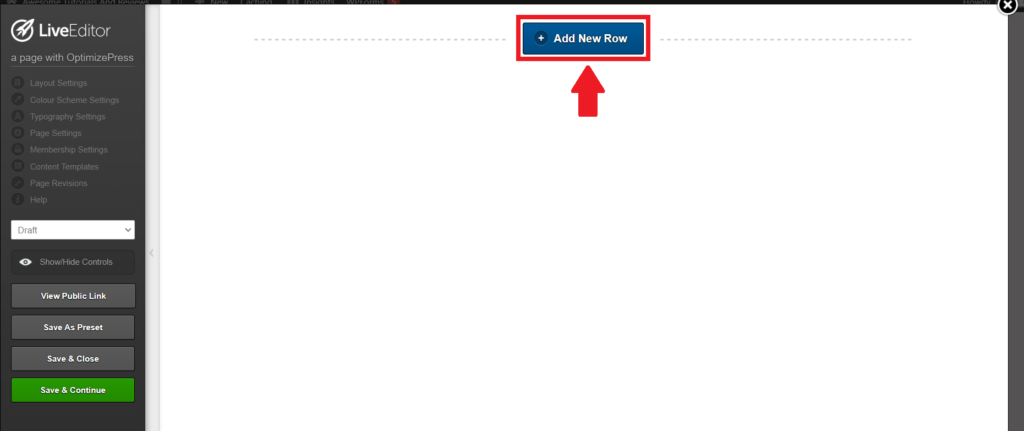
Click “Add New Row”.
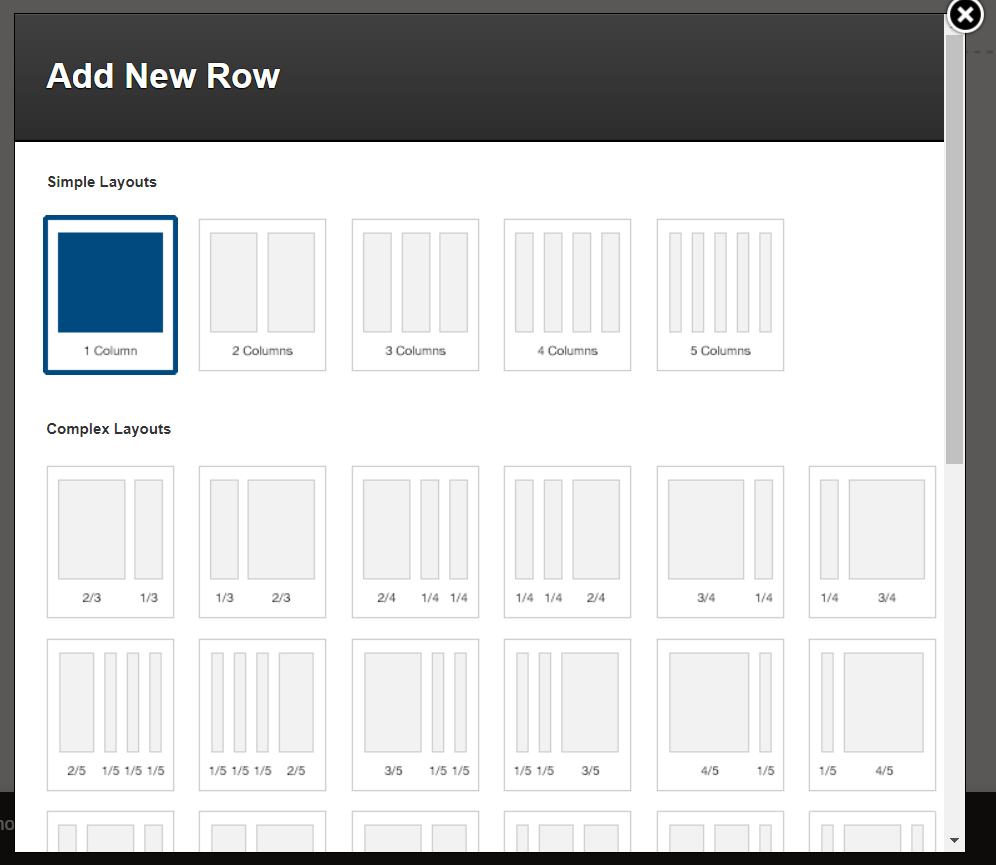
Choose your Layout… (in this example I choose “Simple Layouts – 1 Column”
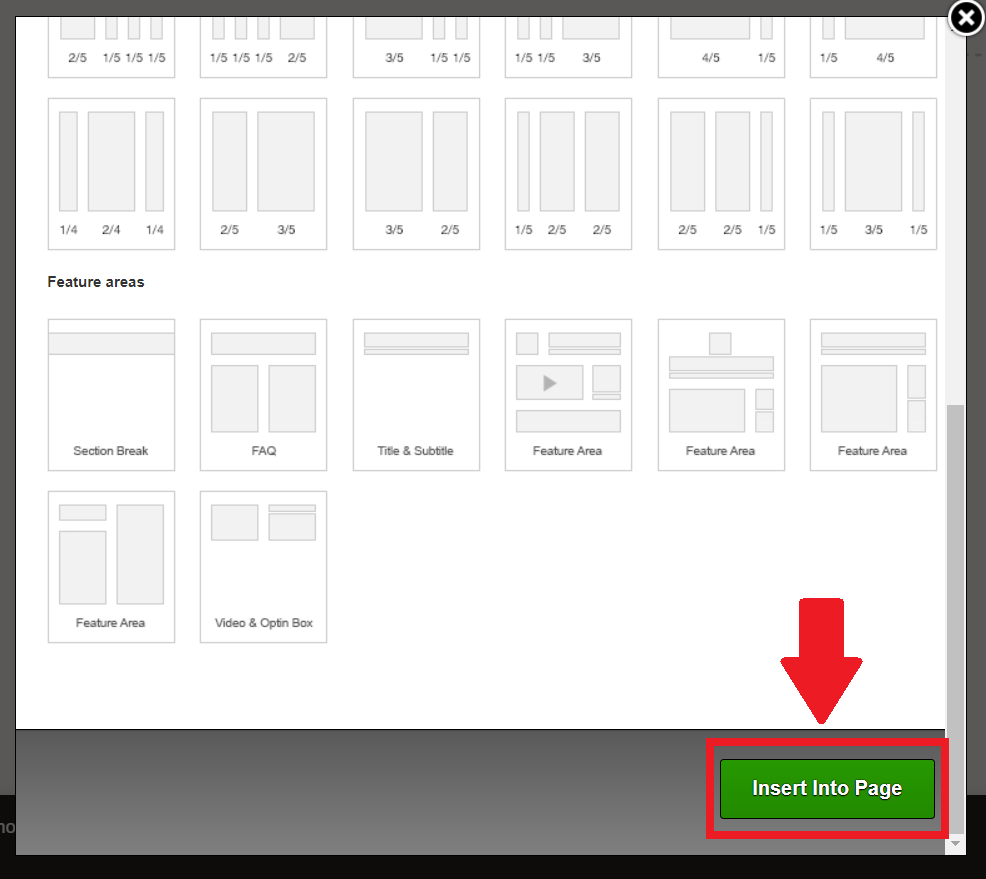
Then scroll down and click “Insert Into Page”:
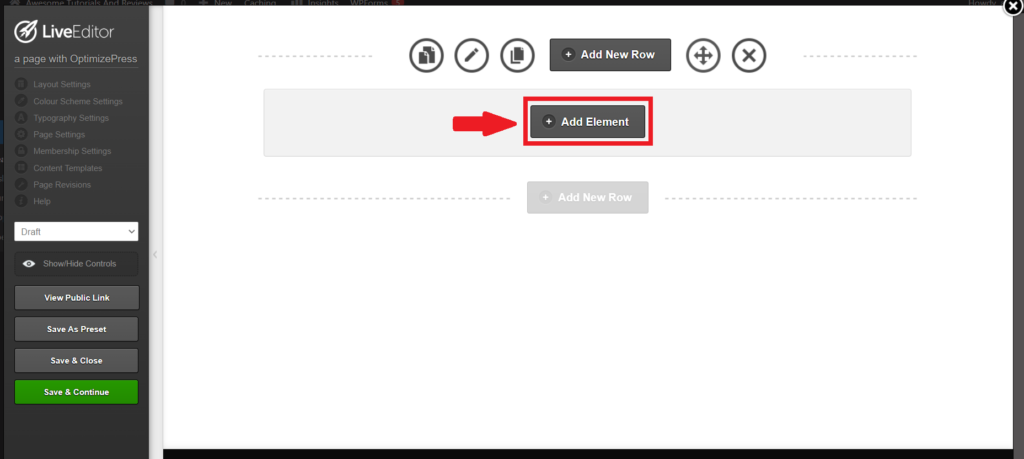
add element
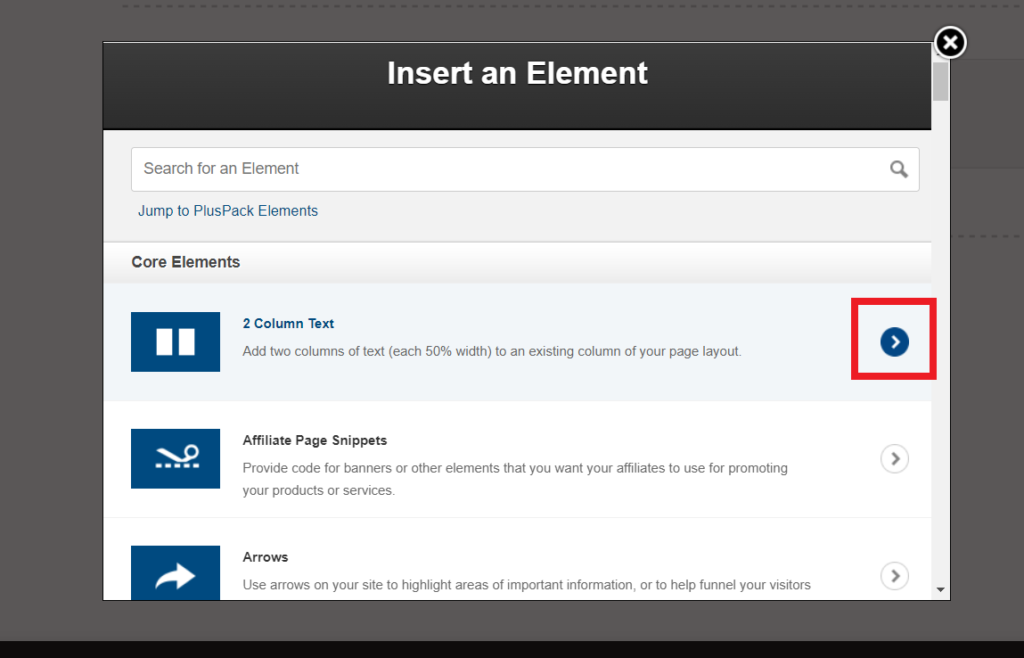
Insert an element. Choose an Element then click the arrow at the right.
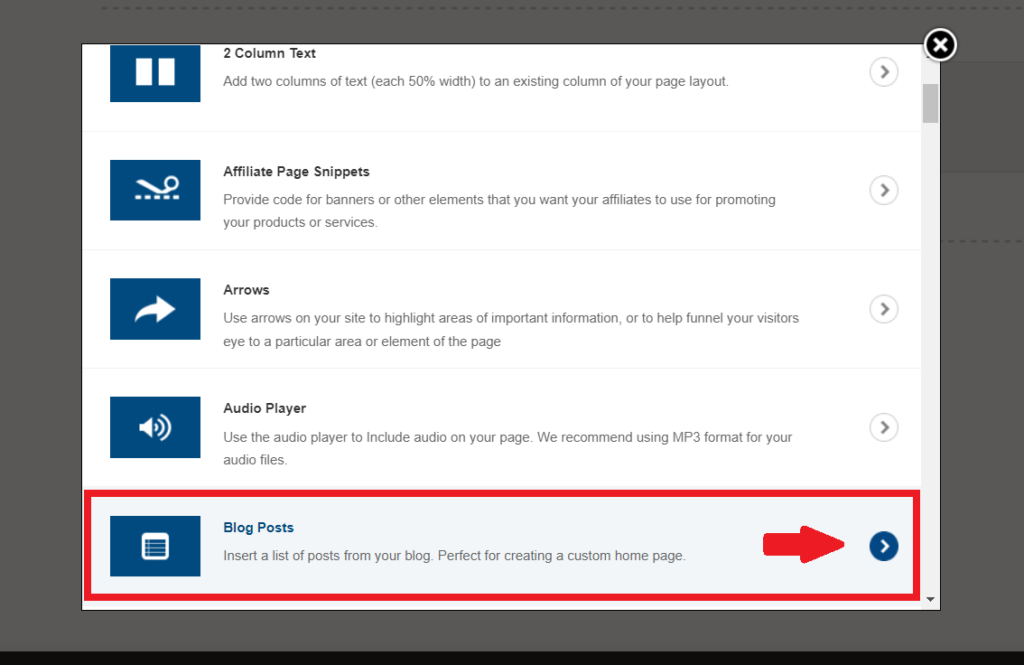
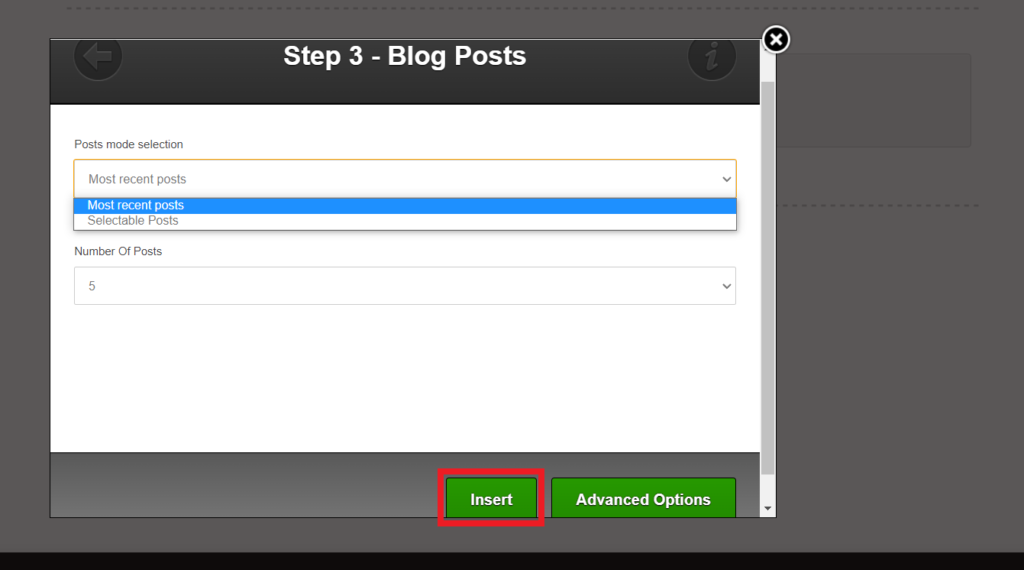
Here I have scrolled down a bit a I choose “Blog Posts”. I then click the arrow at the right…
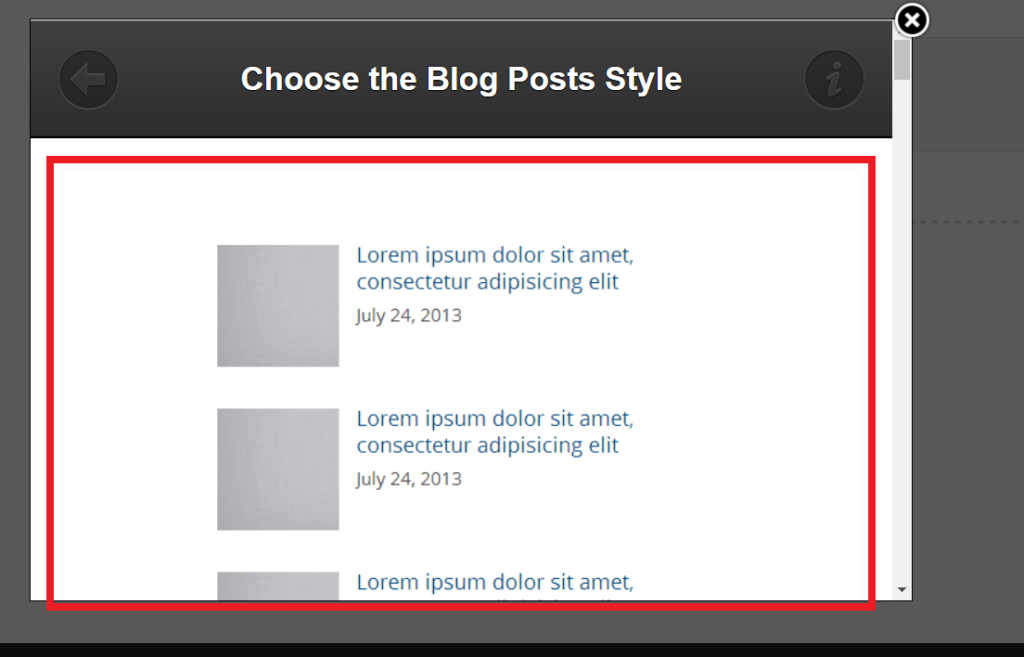
After clicking the arrow I can choose a “Blog Posts Style”. If I scroll down there are a lot more styles to choose from. When I am done choosing I just click inside.
When ready click “Insert”.
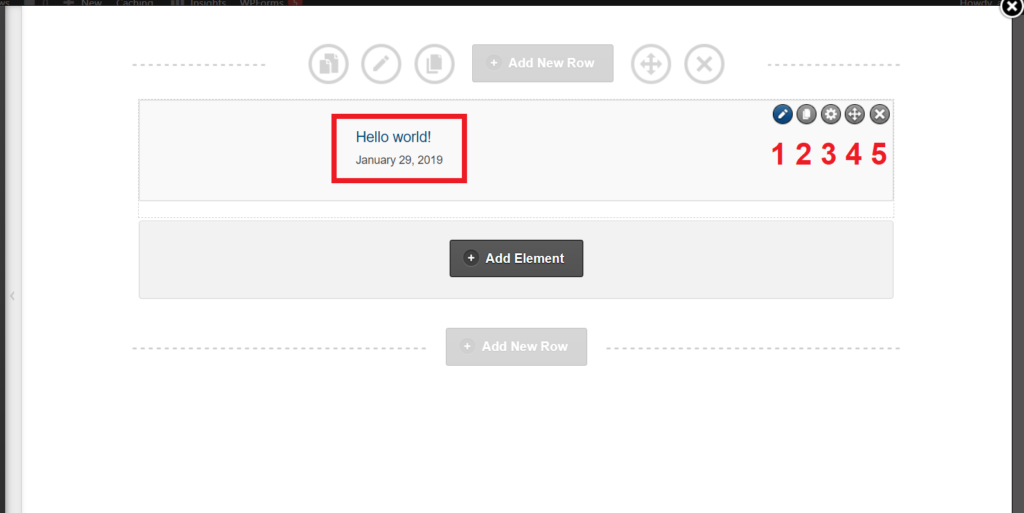
Click on “Hello World” to get to the blog post. 1. Posts mode selection 2. “Copy” if you want to copy the same block. 3. Advanced settings. 4. Move, if you want to move the block around. 5. Delete. Deletes the block.
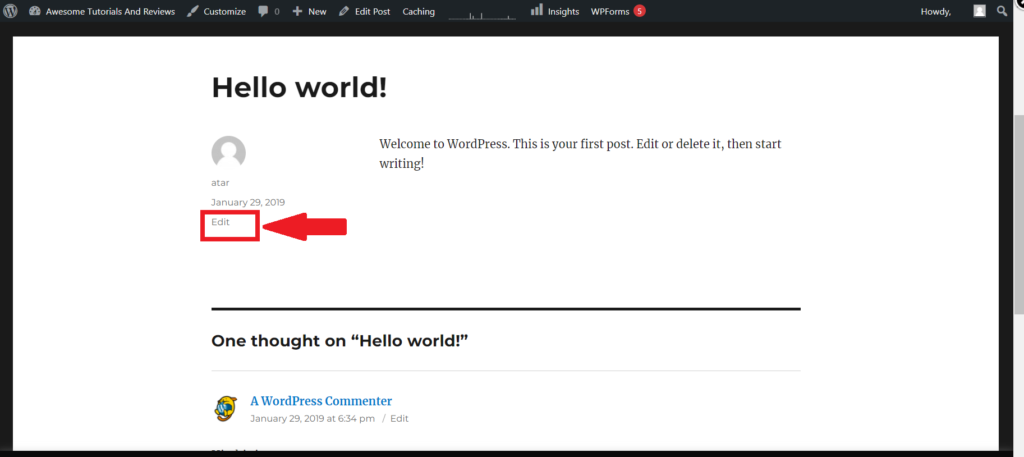
Time to edit the post just click “edit”.
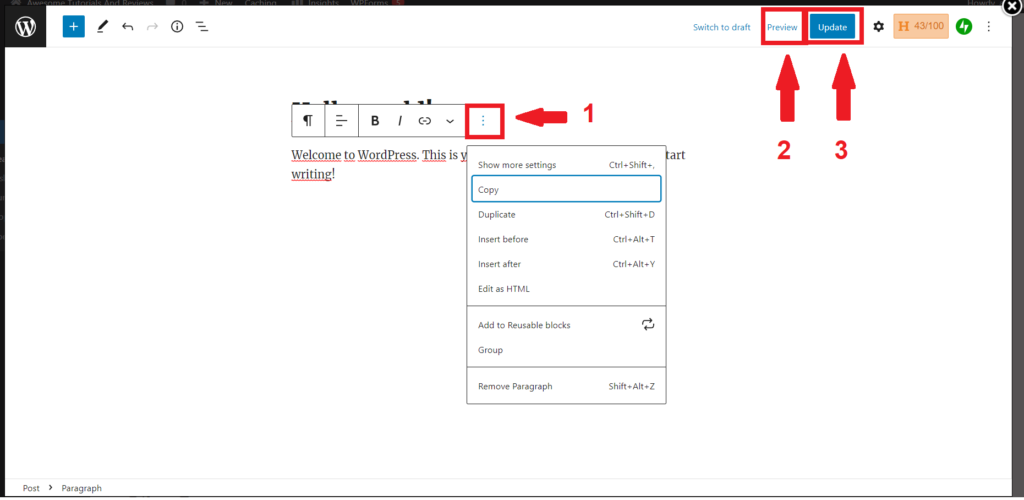
Click on the text and then you can start writing. Or you can click on the text and then on the 3 dots (1) to have more options. You can then preview (2). Dont forget to update (3) when done.
Try OptimizePress now: http://www.optimizepress.com?fpr=henrik35